Impulse
NEW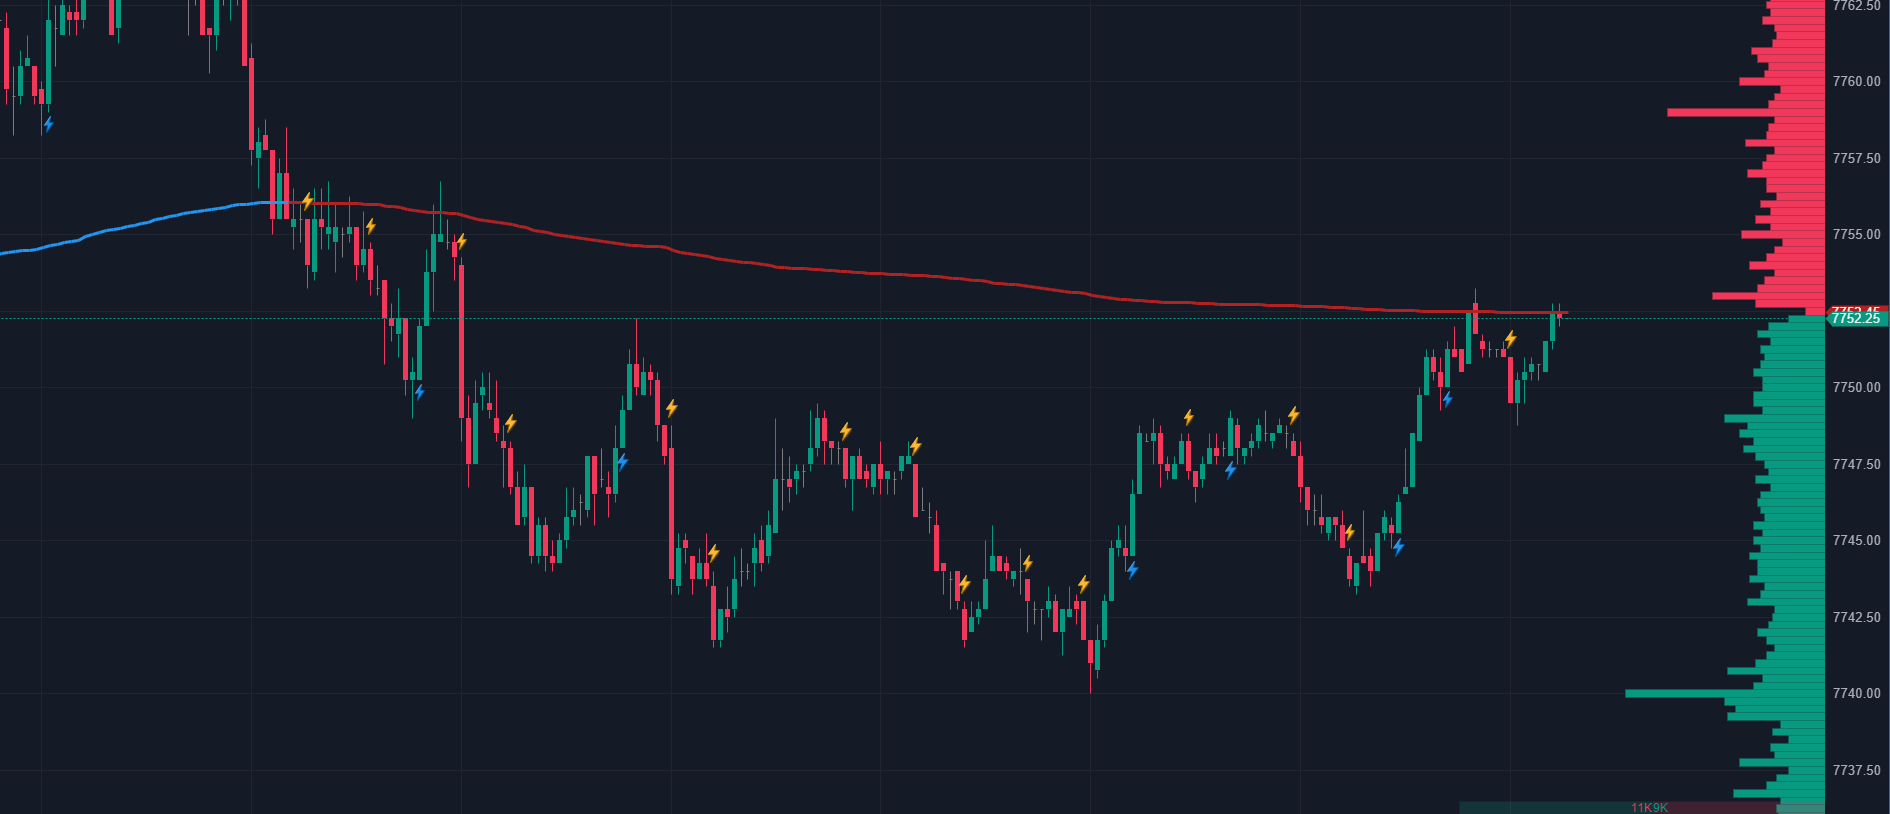
Read aggressive buying or selling alongside directional price progress and competing order flow evidence.
$59.90 lifetimeView indicator →
Every indicator does one job, shows its work on the chart, and comes with a PDF guide and lifetime updates. Buy any on its own, or get everything in the Suite.
All 20 indicators in one purchase. Lifetime updates and future releases included.
Read aggressive buying or selling alongside directional price progress and competing order flow evidence.
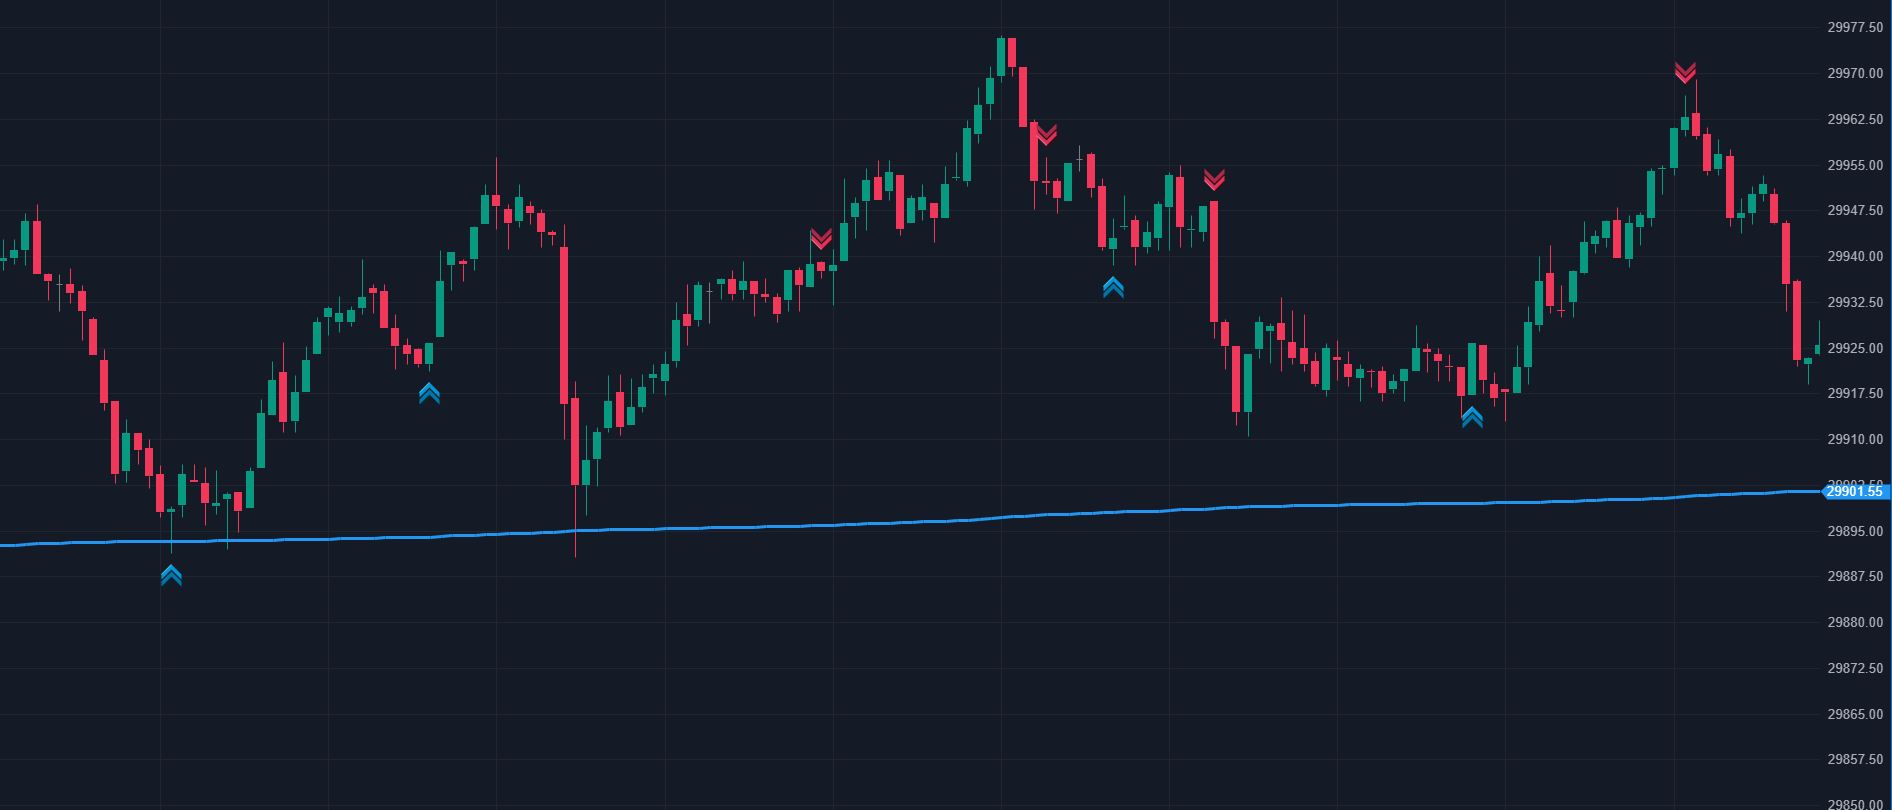
Spot buying or selling pressure that struggles to extend price and retain its progress.
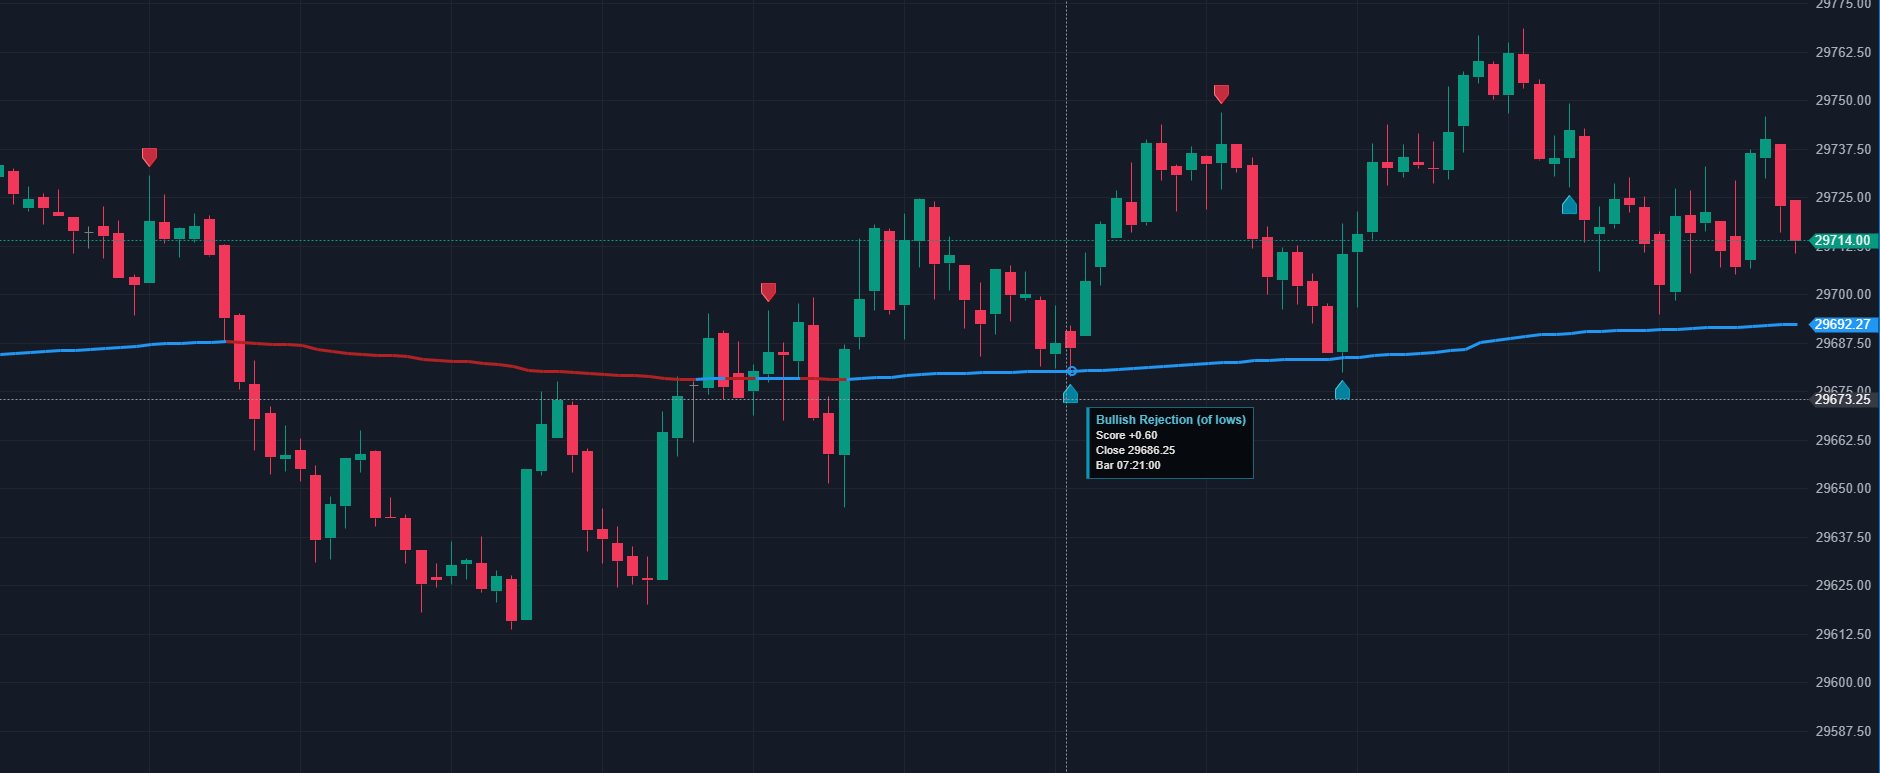
Read rejection evidence when price tests beyond a recent high or low, with the bar response in context.
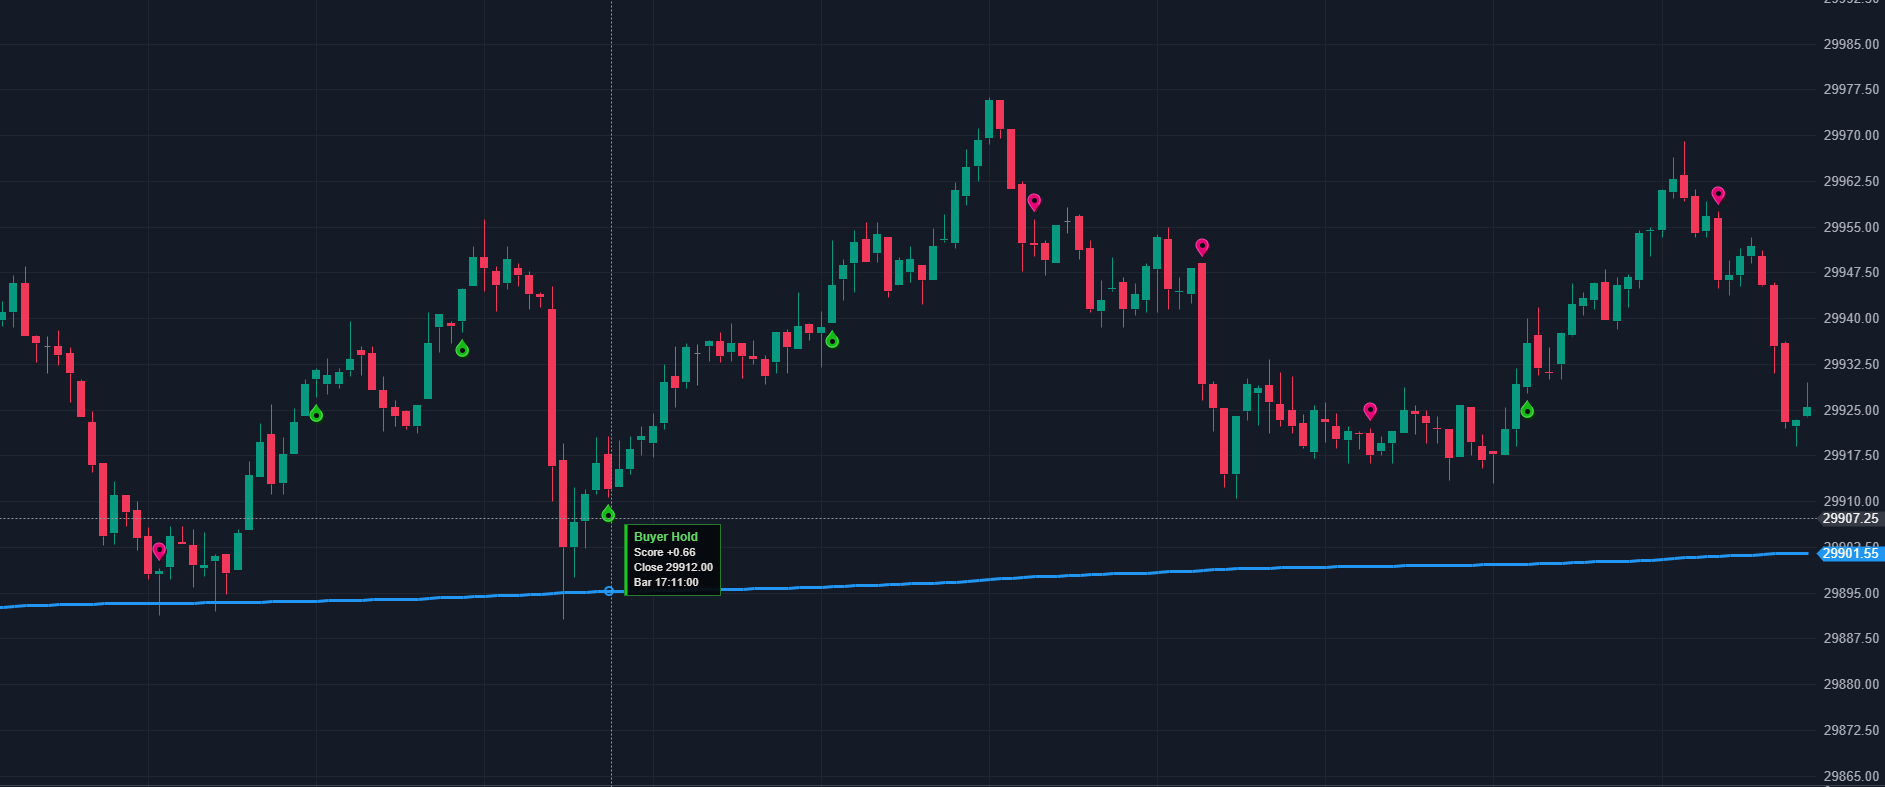
See evidence of buyers or sellers maintaining ground relative to a rolling reference close.
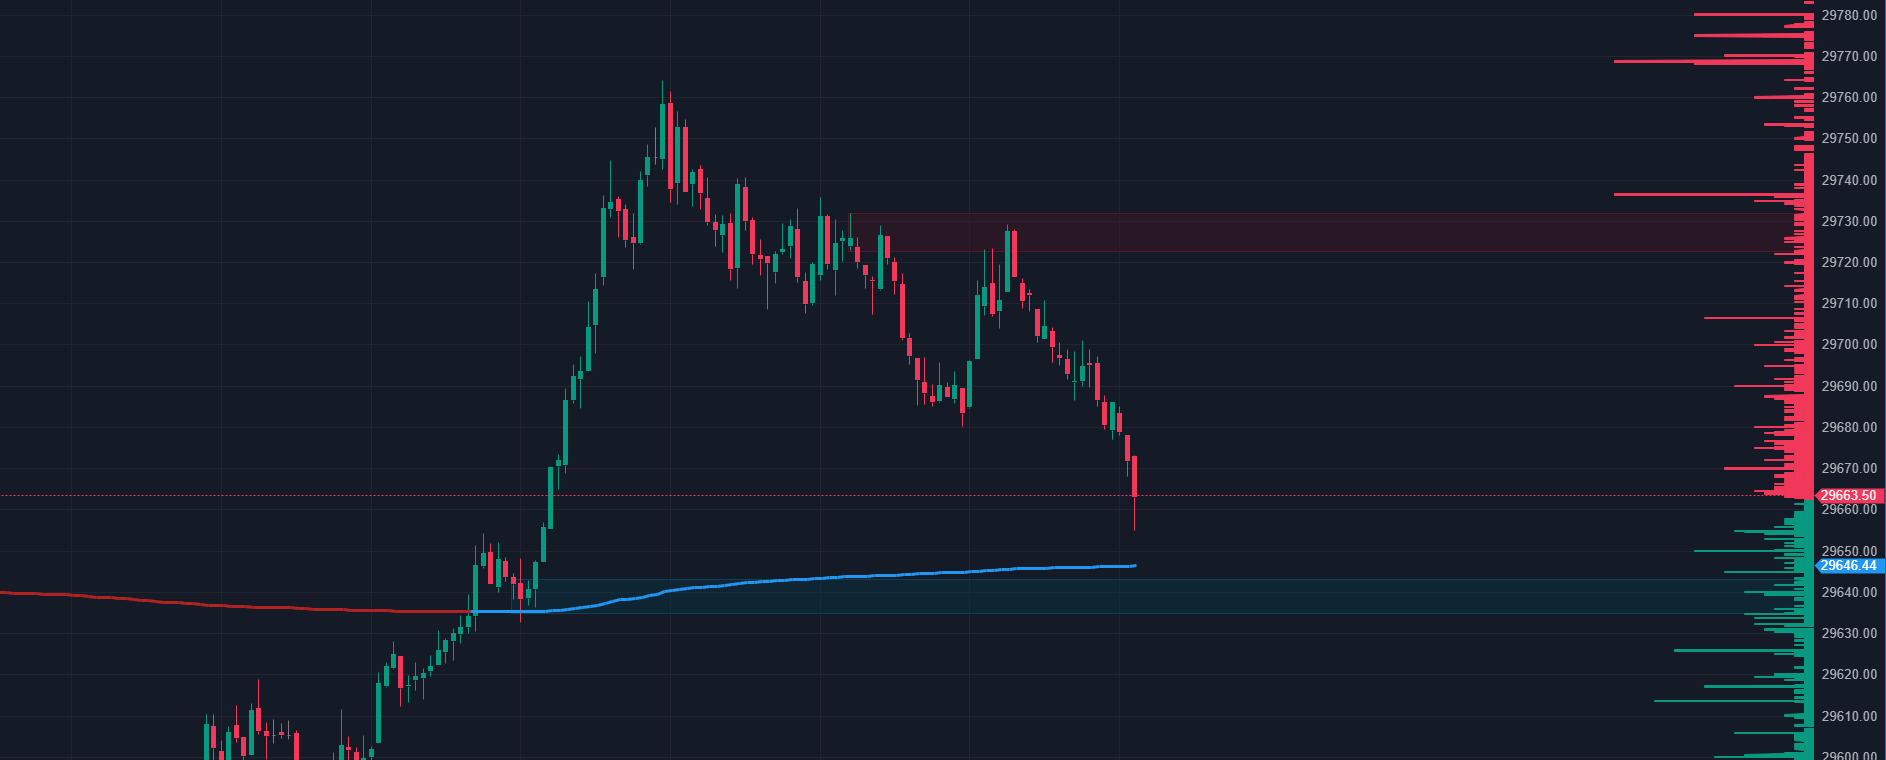
Map dynamic supply and demand areas inferred from traded order flow, then follow strength and retests.
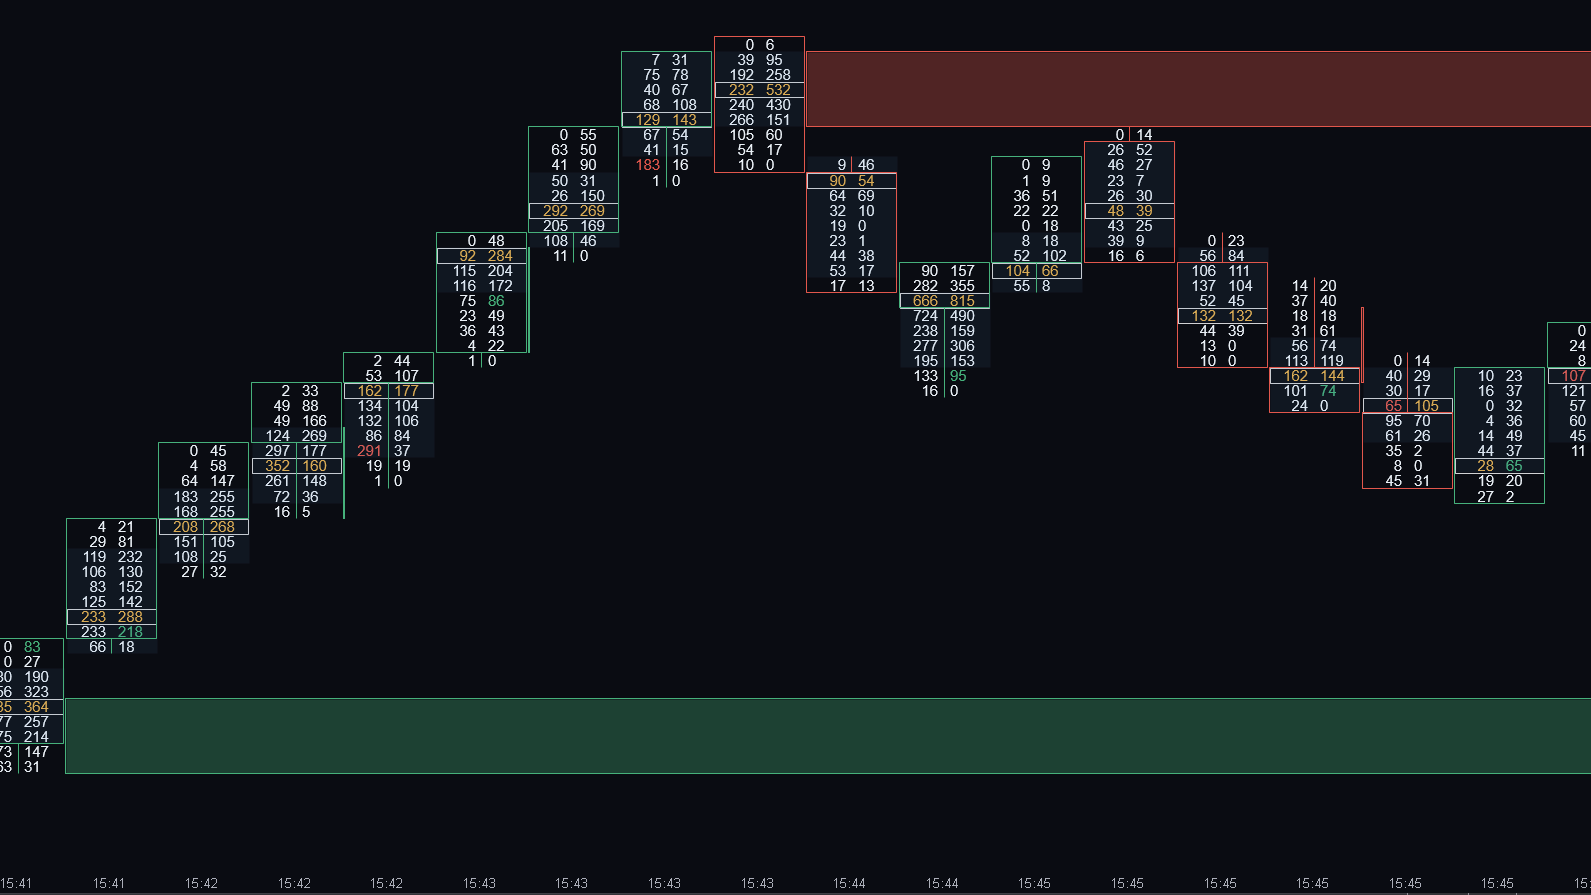
Auto-draws support and resistance zones where buyers or sellers built genuine one-sided pressure into an extreme.
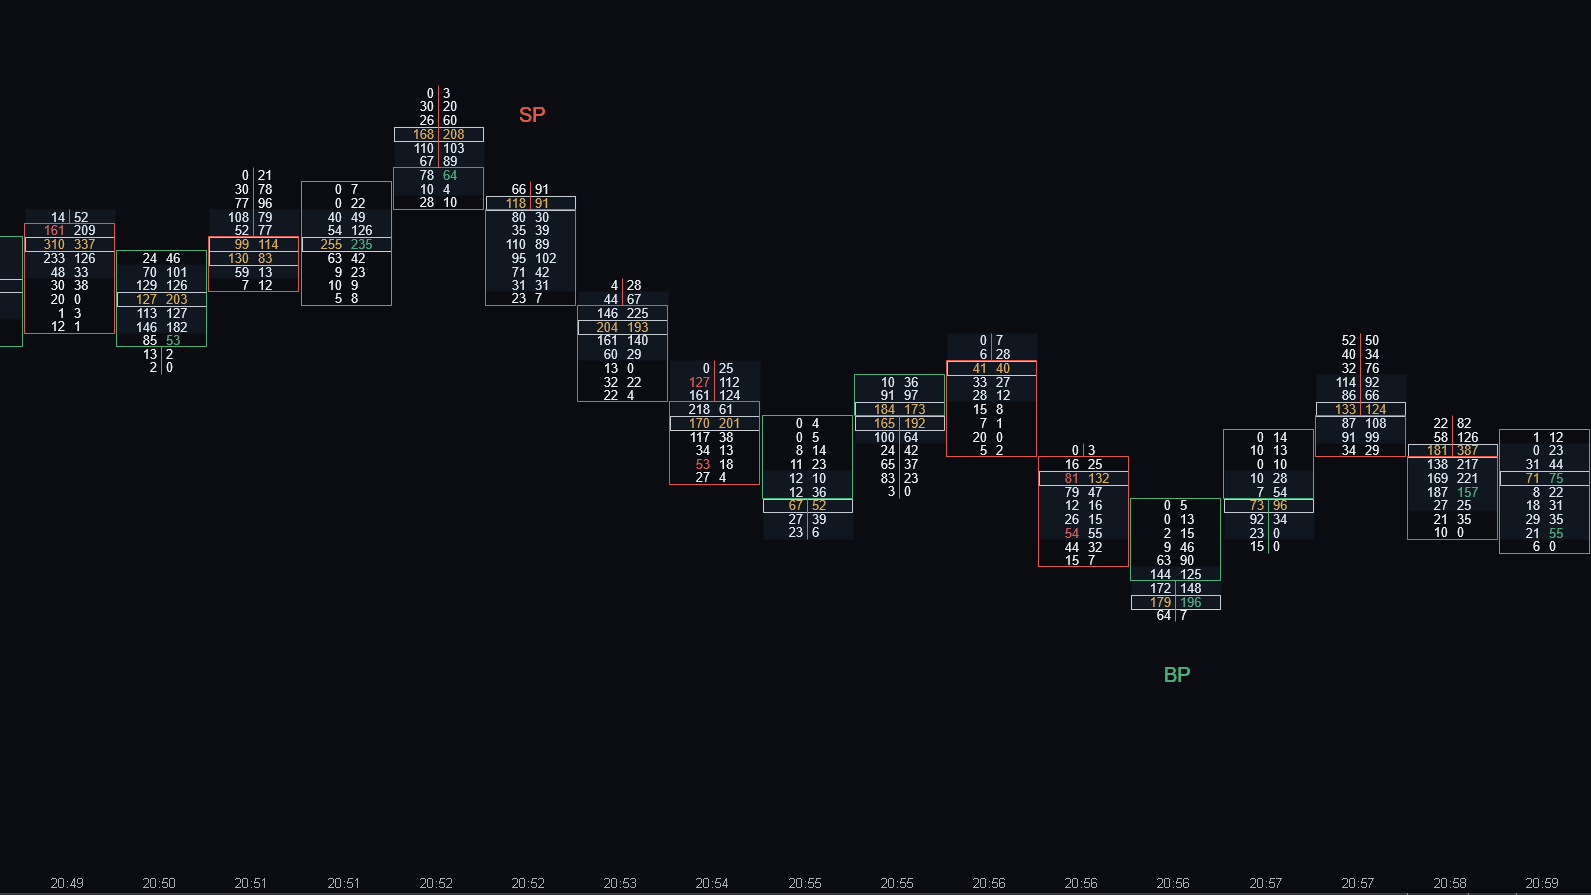
Flags bars where the Point of Control prints in the wick: absorption and rejection at the extremes most traders miss.
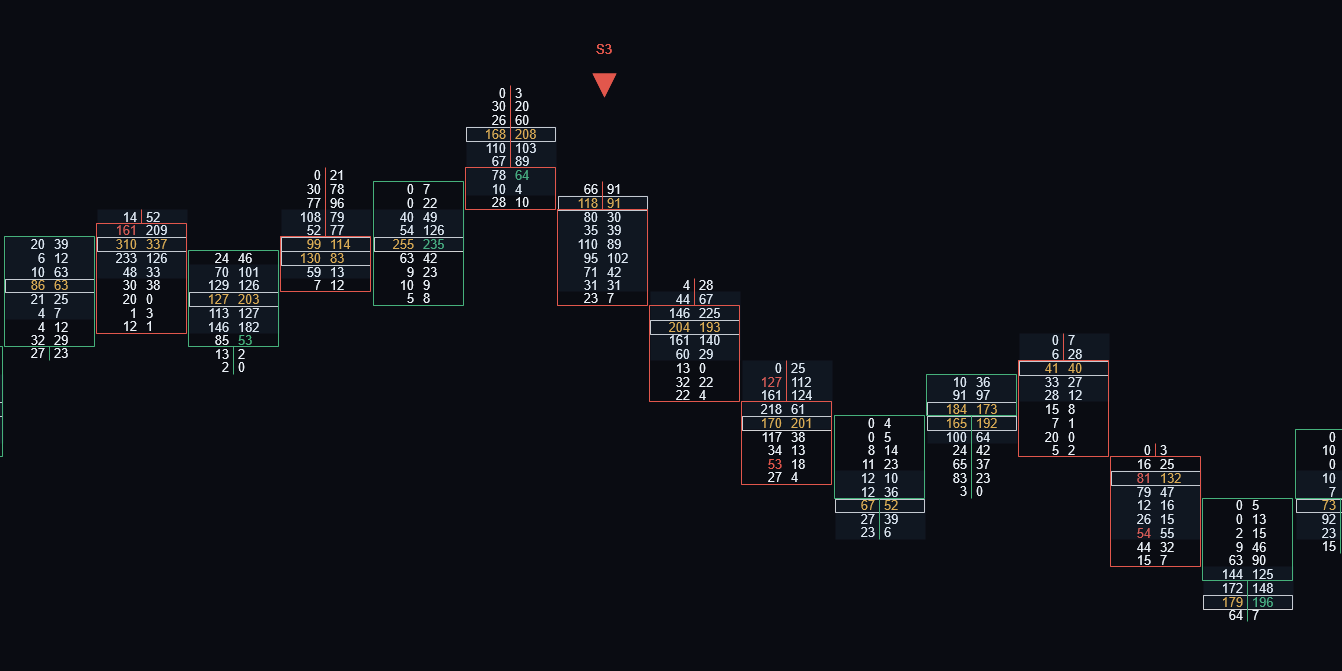
Adaptive delta-reversal signal that fires when aggression snaps back through a self-calibrating band, with price confirmation.
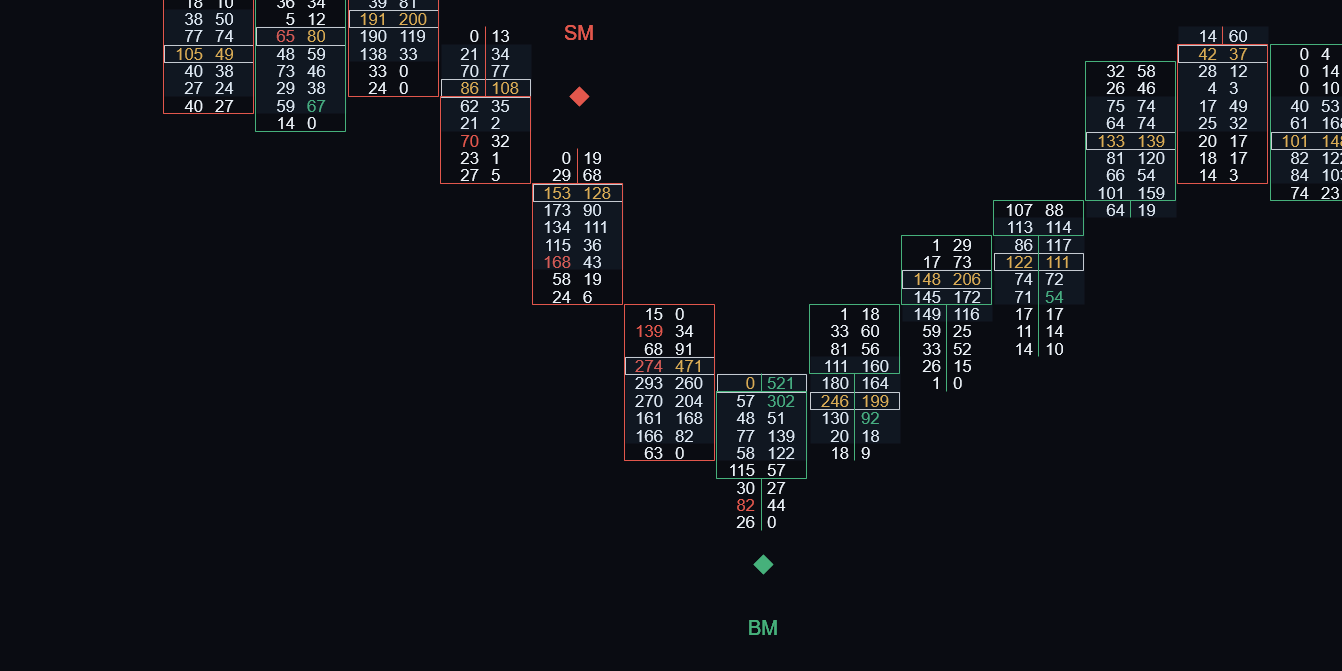
Flags statistically extreme delta bars, then tells you whether the aggression held into the close (momentum) or faded (absorption).
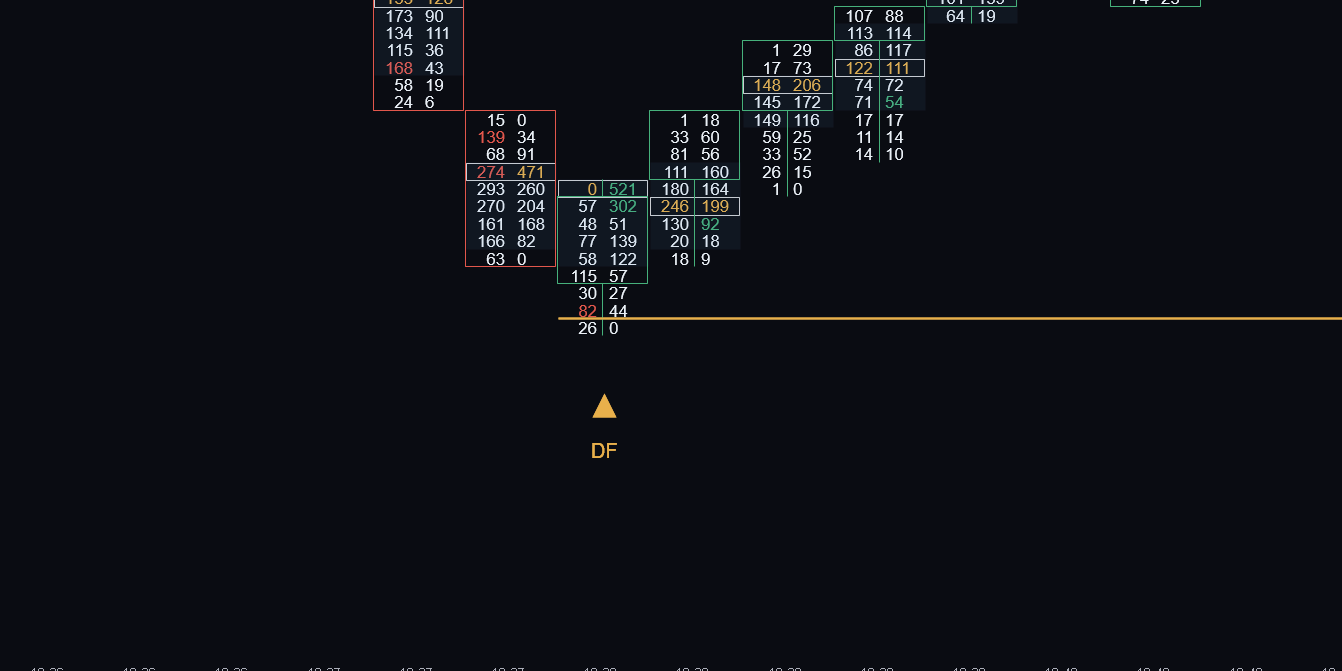
Catches the exact moment aggressive order flow refuses to follow price to a new extreme: when delta and price disagree.
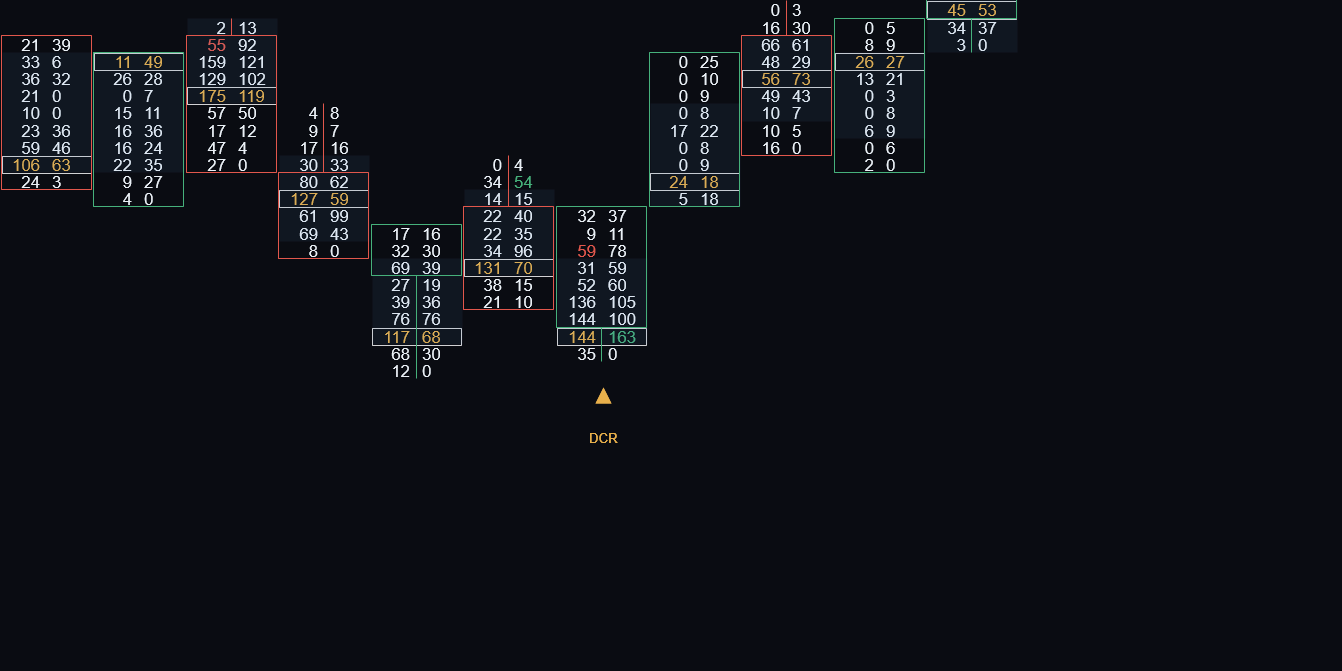
Flags failed delta-climax reversals: a huge one-sided delta bar that fails to follow through and rolls over.
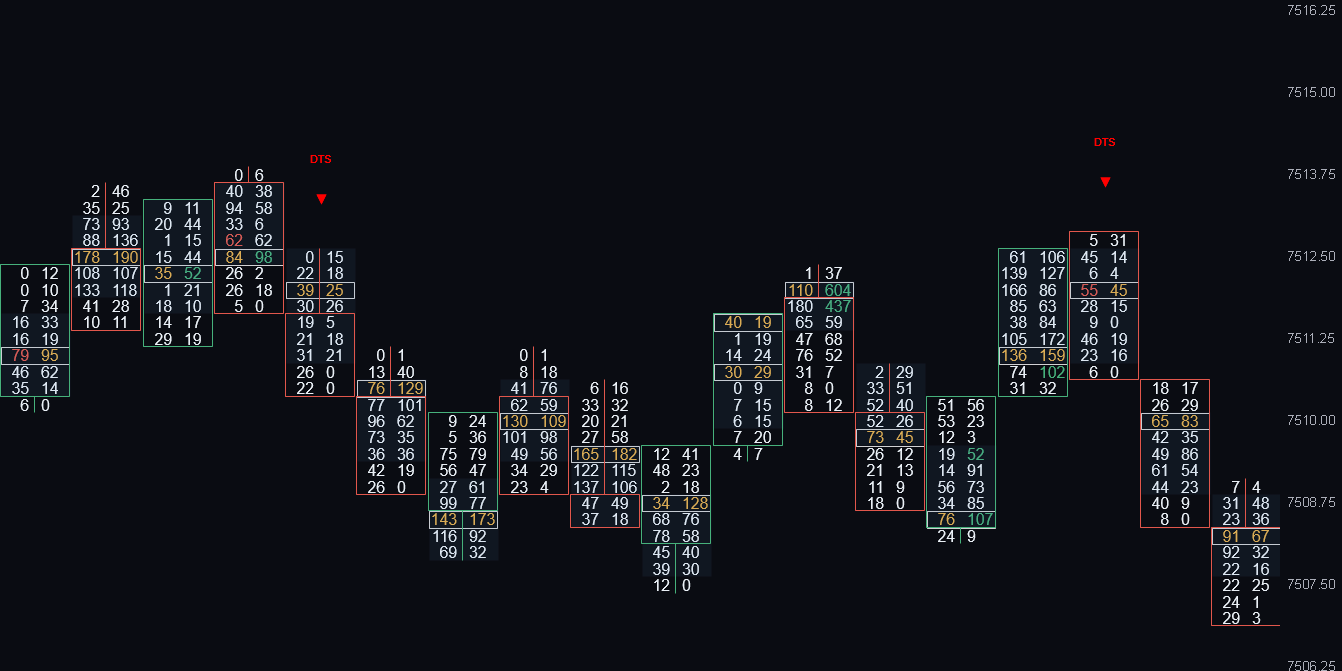
Close-confirmed micro-absorption reversals: a tiny opposite-delta tail at the extreme with a clean one-sided body behind it.
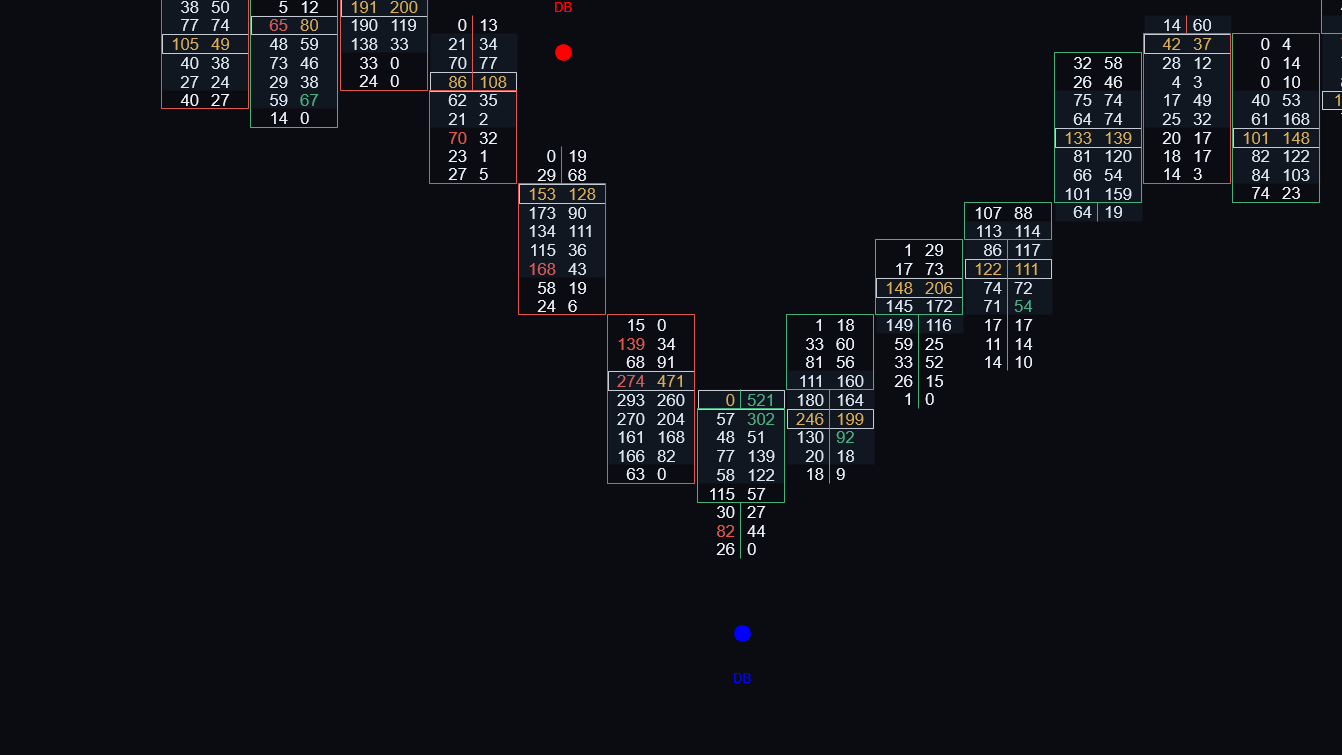
Flags the exact bars where aggressive order flow suddenly surges far above its recent norm.
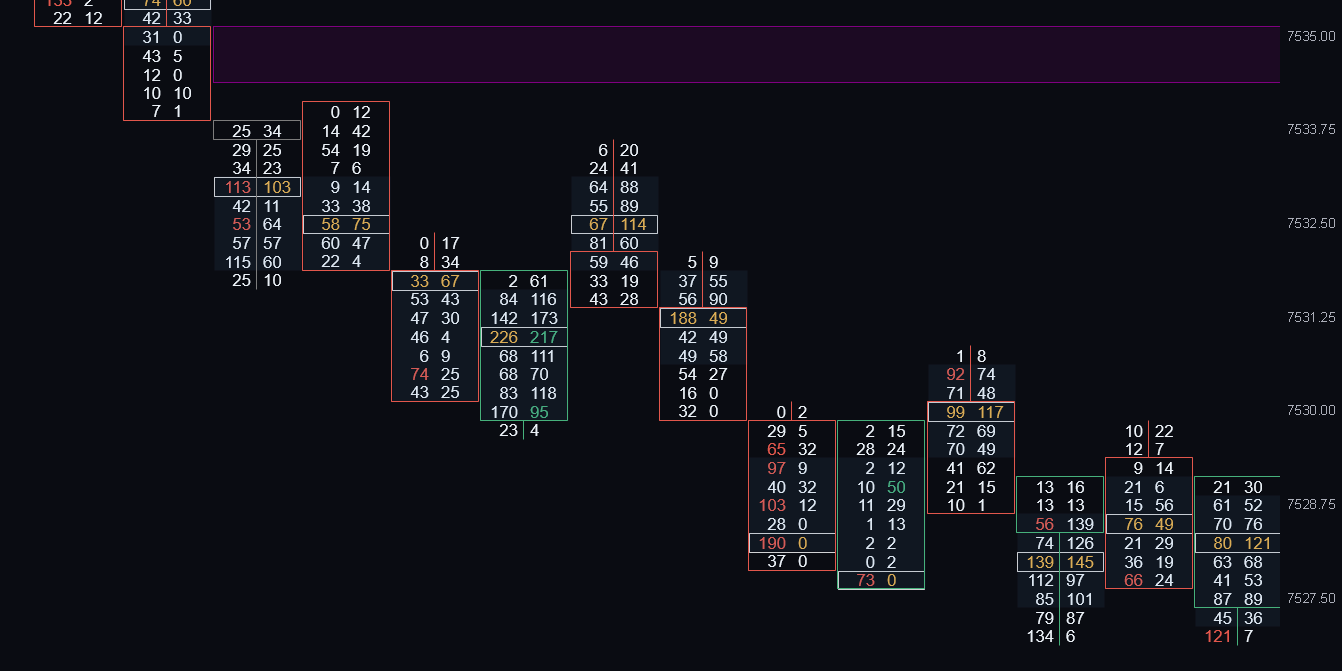
Turns runs of stacked, same-direction strong-delta levels into clean S/R zones that project forward until price tests them.
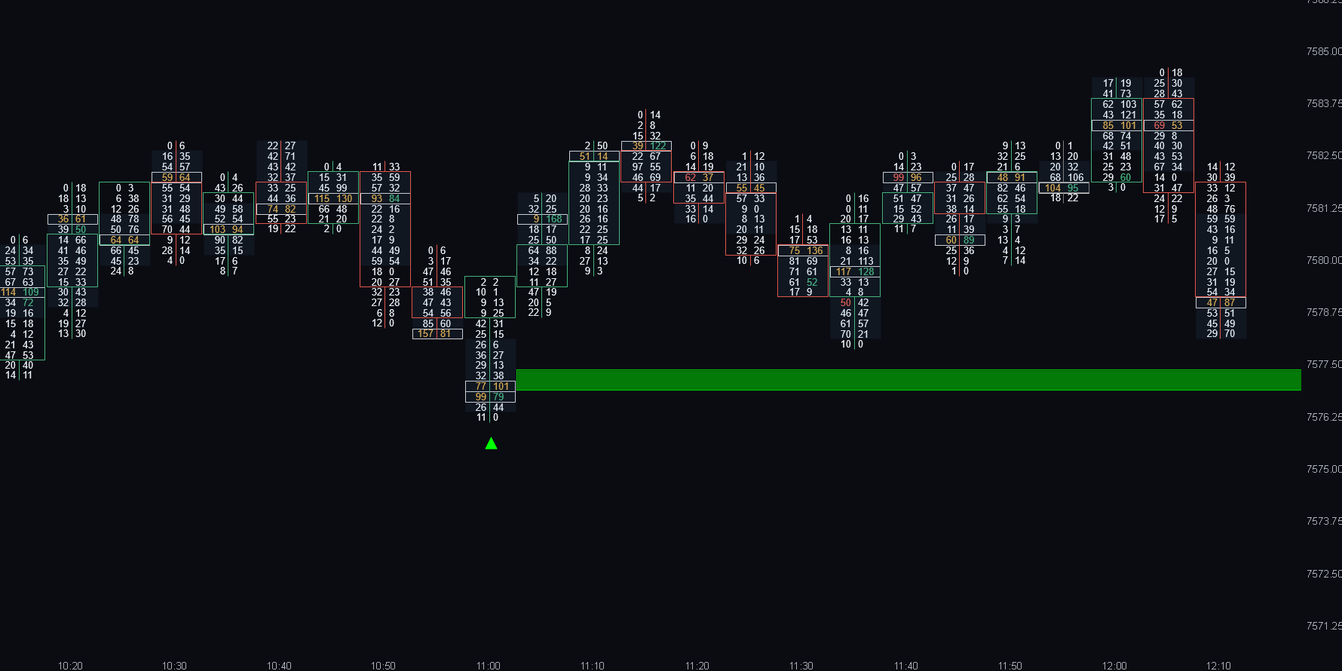
Hammer rejections that only count when the long wick is backed by stacked bid/ask absorption, with a live zone drawn forward.
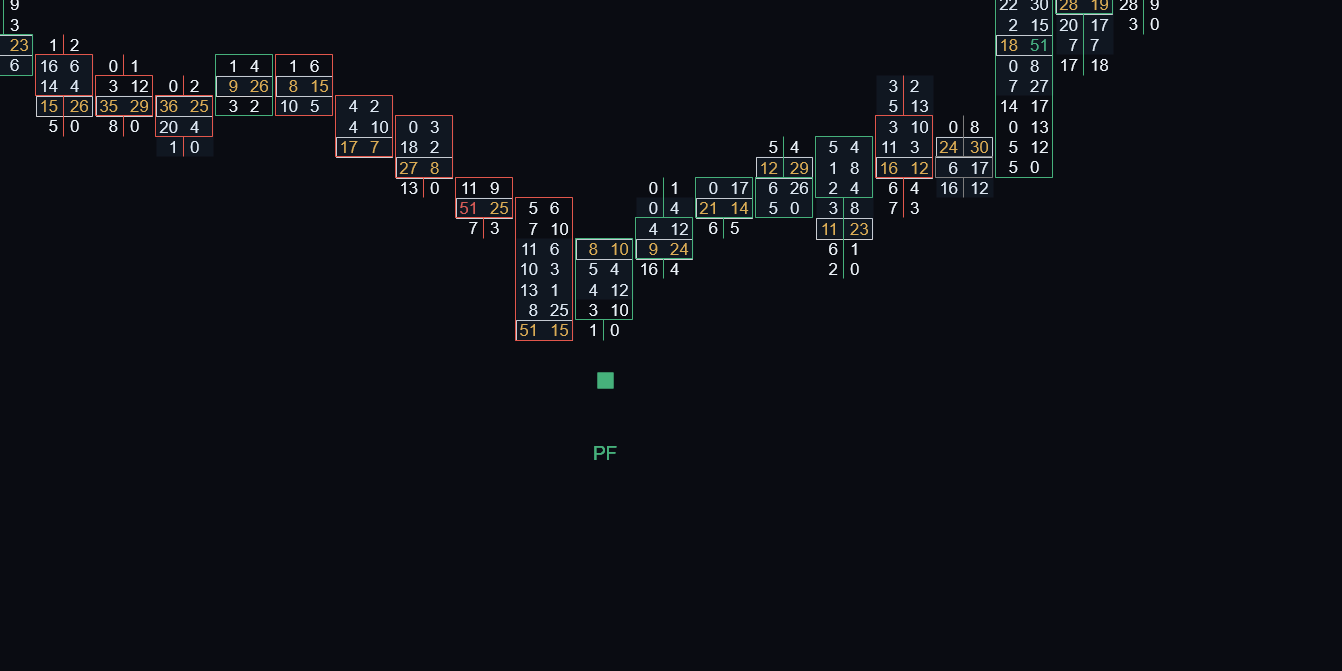
Flags the exact 2-bar moment control changes hands at a swing: the Point of Control jumps from one extreme to the opposite.
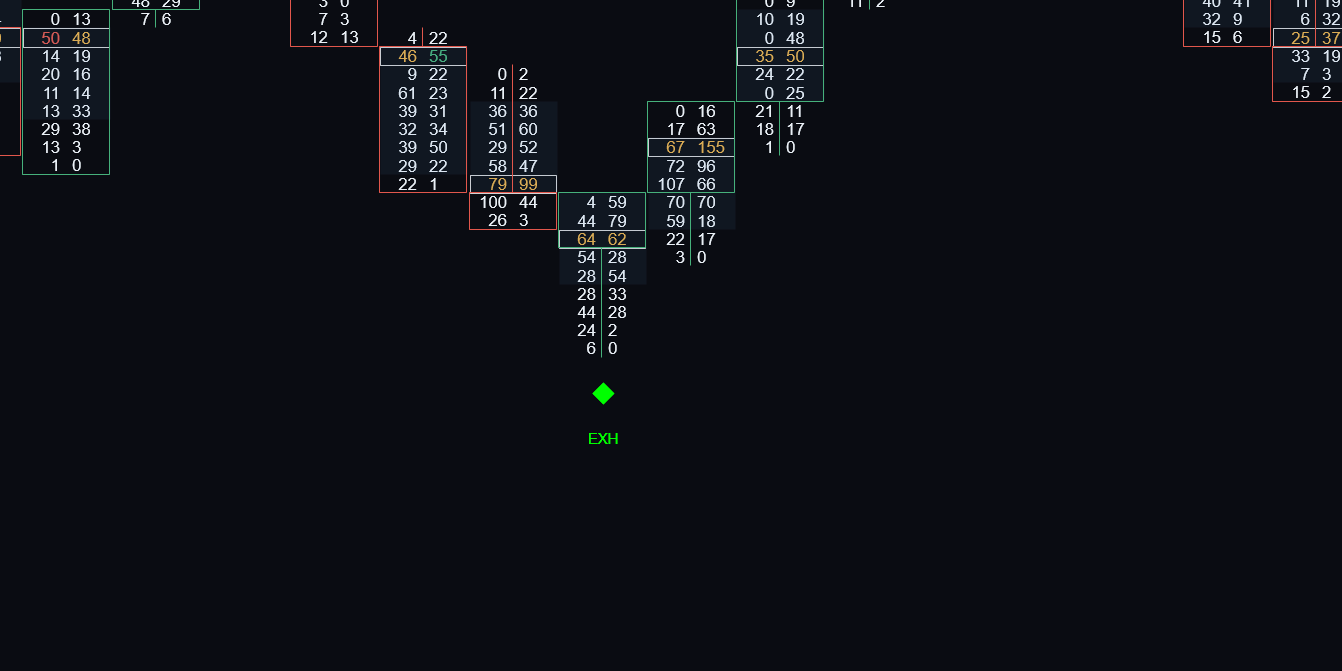
Spots the bar where a trend runs out of aggressors: a zero print at the extreme paired with a reversal candle.
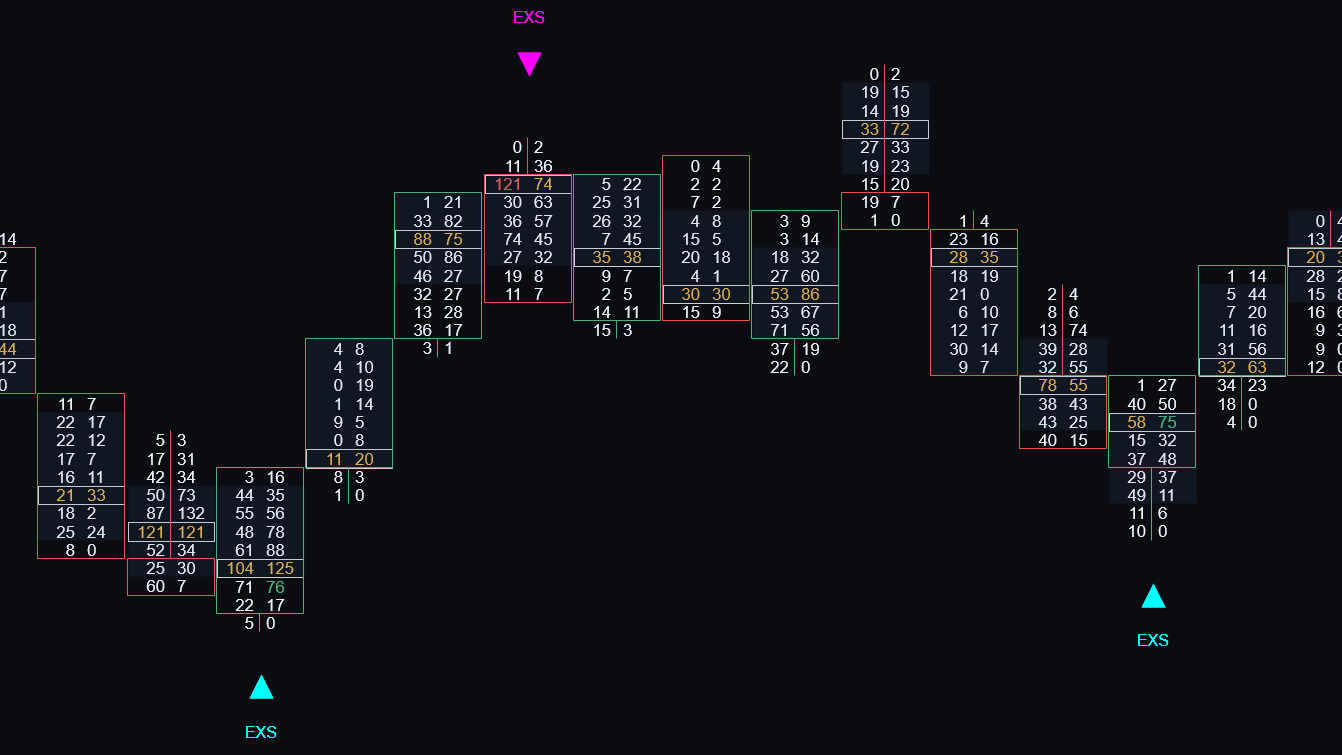
Adaptive exhaustion detector that flags fresh highs or lows printed on thinning volume and fading delta.
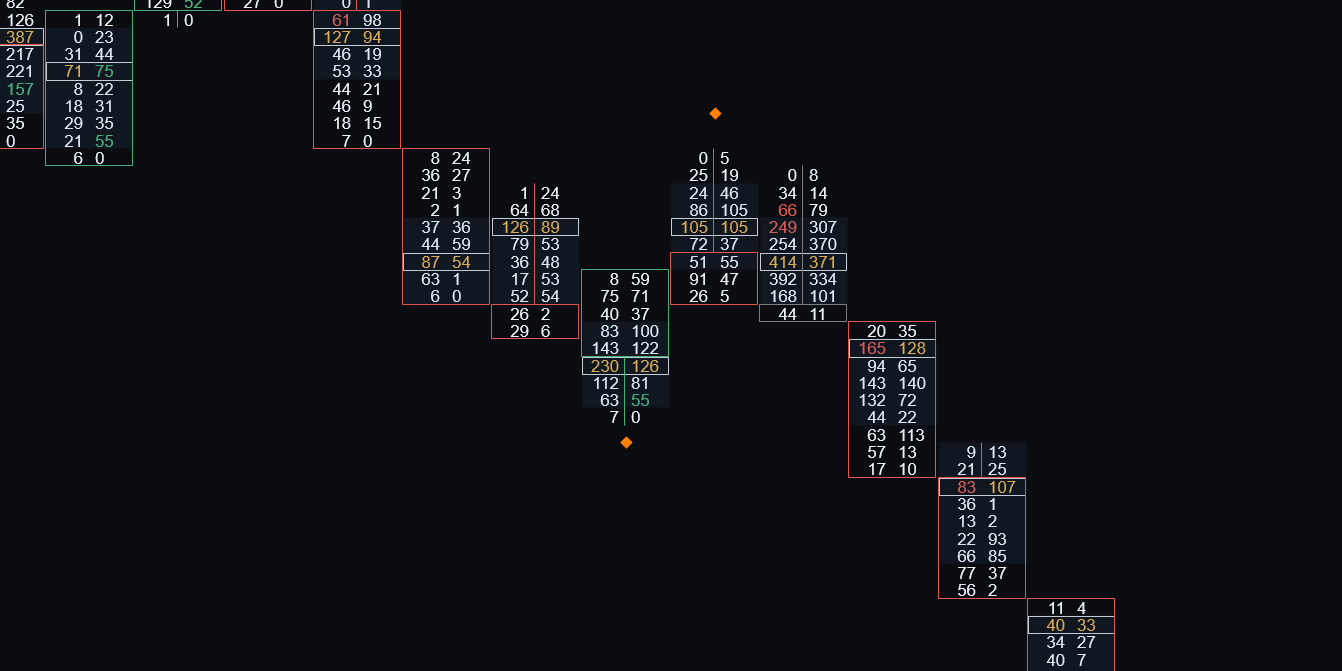
Marks clean highs and lows: the outer footprint rows taper into a delta slide and print a bid/ask imbalance.
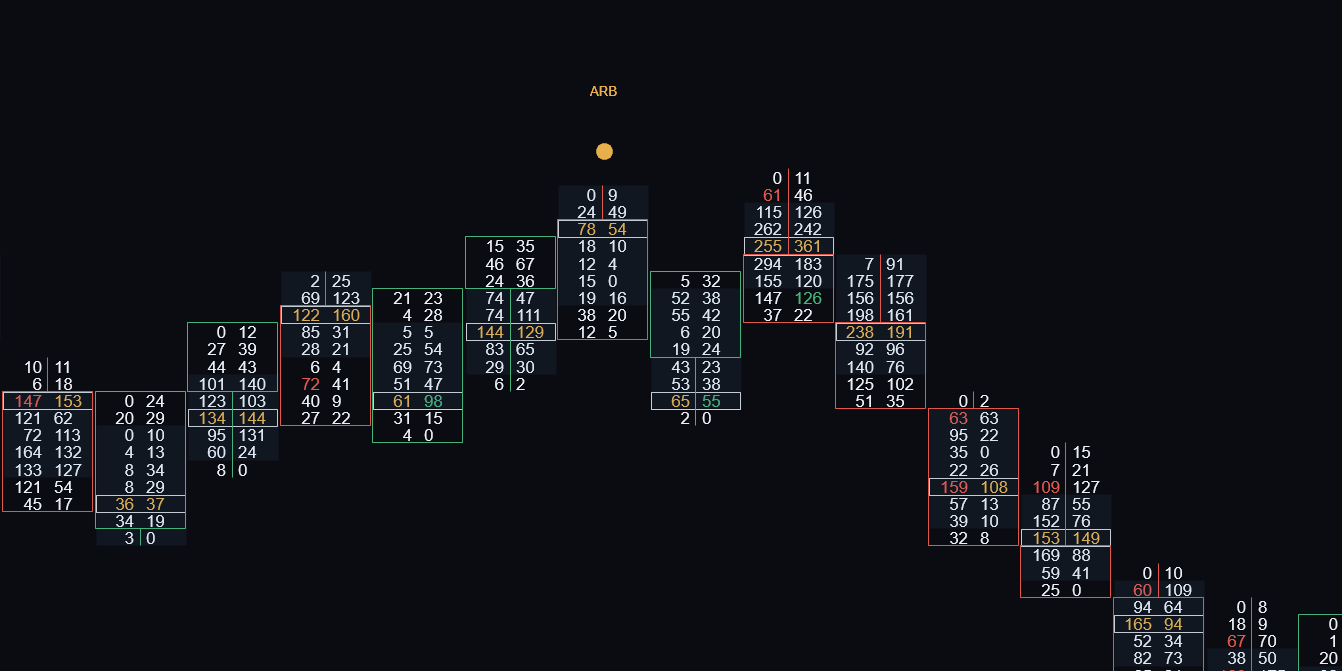
Single-bar exhaustion detector: both sides go aggressive at the extremes, then the close calls the turn.

The Order Flow Suite includes all 20 indicators, lifetime updates and every future release, in a single one-time purchase.